Wednesday, July 28, 2010

Wild Rice Tabouli Salad (Gluten Free)


This dish came about because of my children, not because it is one of those dishes I knew they would love.  Quite the opposite, I made this dish fully aware that it will be several years before either of my boys decides to eat this.  However thanks to them and their pickiness I had 2 cups of leftover rice in the fridge.  I committed the cardinal parenting sin of preparing a new type of rice, which both boys immediately refused to eat.  I wasn't worried about it, they made do with the other options for dinner as Lewis and I happily ate the volcano rice, enjoying the different grains each with its own taste and texture.  For the record, the second time I made the rice they liked it, which was faster then I was expecting.


The idea to use the leftovers in Tabouli salad came when I was picking herbs at my CSA on one of the many oppressively humid, hot days this summer that has been making everyone cranky and squinty.  The herb field has zero shade and the curly parsley was the first parsley I came to.  Standing in the parsley patch I quickly decided to make tabouli for dinner, as a sudden tasty sounding way to excuse picking curly when I usually prefer flat leaf.  Now it wasn't laziness, it was a meal plan.


Once I decided not to use the traditional bulgur wheat base (or the boxed mix my mother relied on) I decided to play a little by adding toasted hazelnuts. The resulting salad was light, flavorful and delicious, enough so that I made it again 3 days later, even though I no longer had any tomatoes.  The second time around I gave the leftovers to one of my neighbors, who requested the recipe when he returned my dish.  Then told me to start typing when I told him I planned to post it here.


Wild Rice Tabouli Salad (or should that be Tabbouleh?)


Most of the vegetables are listed as optional because I don't want you to put off making it because you are missing some of the vegetables listed.  Just chop and add in whatever vegetables you have so there is more texture and flavors in the salad


2 cups cooked rice, preferably a wild rice blend or other whole grain rice (I used volcano rice)
1/4 cup freshly squeezed lemon juice (if you put  your lemons in the microwave on high for 50 seconds first you will get more juice)
1/4 cup extra virgin olive oil
1/2 tsp sea salt or kosher salt (if your rice is not already salted increase salt to 1 tsp)
1/2 cup finely chopped curly parsley (it is really important to finely chop the parsley)
2 - 3 Tbsp finely chopped fresh mint leaves
1 cup chopped fresh tomatoes (optional)
1 cucumber peeled, cut lengthwise into 4 pieces and then seeds removed, chopped (optional)
1/2 cup hazelnuts briefly toasted in a dry skillet until fragrant and then coarsely chopped
1 red, yellow or orange pepper seeded and chopped (optional)
1/2 cup chopped scallions or baby onions chopped fine
freshly ground black pepper to taste
1/2 cup crumbled feta cheese (optional)


Mix all the ingredients and stir well.  Top with feta if using. Either serve immediately or allow the flavors to mellow and blend in the fridge for half an hour first.


Monday, July 19, 2010

Sour Cherry Pound Cake


I don't really have much to say tonight.  Perhaps I should be more precise and say I don't have much to say that would be coherent, or even interesting.    So instead of a story of how hot it is or an anecdote of my children tying me up and locking me in the basement because I refused to buy anything from the ice cream truck (partially because this did not happen, yet...)   For tonight I am going to cut to the chase, leaving out the long winded tale of our lives and just tell you about the sour cherry pound cake I made with the cherries that did not make it into one of the many batches of sour cherry jam.

This pound cake is nothing more then a fruit substitution in the Blueberry Raspberry Kirsch Pound Cake I shared last summer.  It makes 2 loaves, every time I made the blueberry and raspberry version we froze one and enjoyed the other one right away.  The first time we thawed one and served it for breakfast the boys both looked at their plates and said, "Blueberries and raspberries, where did we get those?  It's winter."  How I love brainwashing!  While I love the blueberry and raspberry version the sour cherry one is even better, there are so many more layers of flavor and balances to it.  The cherries sweeten when they are baked while remaining tart enough to contrast with the sweet cake.  As a total surprise, everyone here, from 5 to 43, agreed with me.  This winter it will be wonderful to have both versions stored away for a taste of summer.


Sour Cherry Pound Cake
adapted from Orangette

5 large eggs at room temperature (you can just put them in a bowl of warm water for 5 minutes)
1 2/3 cups sugar
2 Tbsp Kirsch
1 1/4 cups (2 1/2 sticks) unsalted butter at room temperature, plus more for the pans
1 tsp baking powder
1/2 tsp salt
1 cup plus 3 Tbsp white whole wheat or whole wheat pastry flour
1 cup plus 3 Tbsp all purpose flour
2 Tbsp all purpose flour (for mixing with the cherries)
2 cups pitted sour cherries, juices drained and added to any Sour Cherry Jam  you are making


Generously butter a 9 cup Bundt pan or two 4.5 cup/1.5 Qt loaf pans and then dust it with all purpose flour, shaking out the extra.

Beat the eggs and sugar in the bowl of a stand mixer with the flat beater attachment until thick and smooth, about 1 minute. Add the kirsch and the butter in 1 Tbsp sized pieces and beat until it is thick and fluffy. This should take a couple minutes, stop once to scrape down the sides. Add the baking powder and salt and mix to combine well. Add both flours and turn the machine on and off on low in short pulses until just combined. Be careful not to overmix.
Toss the sour cherries in a large bowl with 2 Tbsp all purpose flour before using a spatula to fold them into the batter. Scrape the batter into the prepared pan or pans and smooth the top. Place in the center of a cold oven and turn the oven temperature to 300°. Bake until a knife or cake tester inserted in the center comes out clean. For both pans for me this took 1 hour and 25 minutes. Cool in the pan or pans for 5 minutes before inverting on to a cooling rack to cool completely.

If you wish to freeze the cake wait until it is cooled completely and then place the cake in a freezer bag, make sure to label it.  To defrost just allow to defrost overnight at room temperature.

Thursday, July 8, 2010

Sour Cherry Jam (No Commercial Pectin)


This winter as I am spreading tangy sweet sour cherry jam on my toast I know I will romanticize everything that went into making it.  I will bite into my breakfast and the vivid tart cherry flavor will fill my mouth (a flavor that oddly cannot come from sweet cherry jam) and I will have fond memories of picking the cherries with my family.  I will remember my strange enthusiasm and zeal while picking in the heat, which caused me to pick close to 20 pounds.  My memory will gloss over the time I spent, during an unbearably hot, record breaking, July heat wave, cooking batch after batch of boiling jam.  I will no longer remember the blanket covering the door to the kitchen so the heat would not poison the rest of the house.  I may even conveniently forget resorting to cooking in my bathing suit.


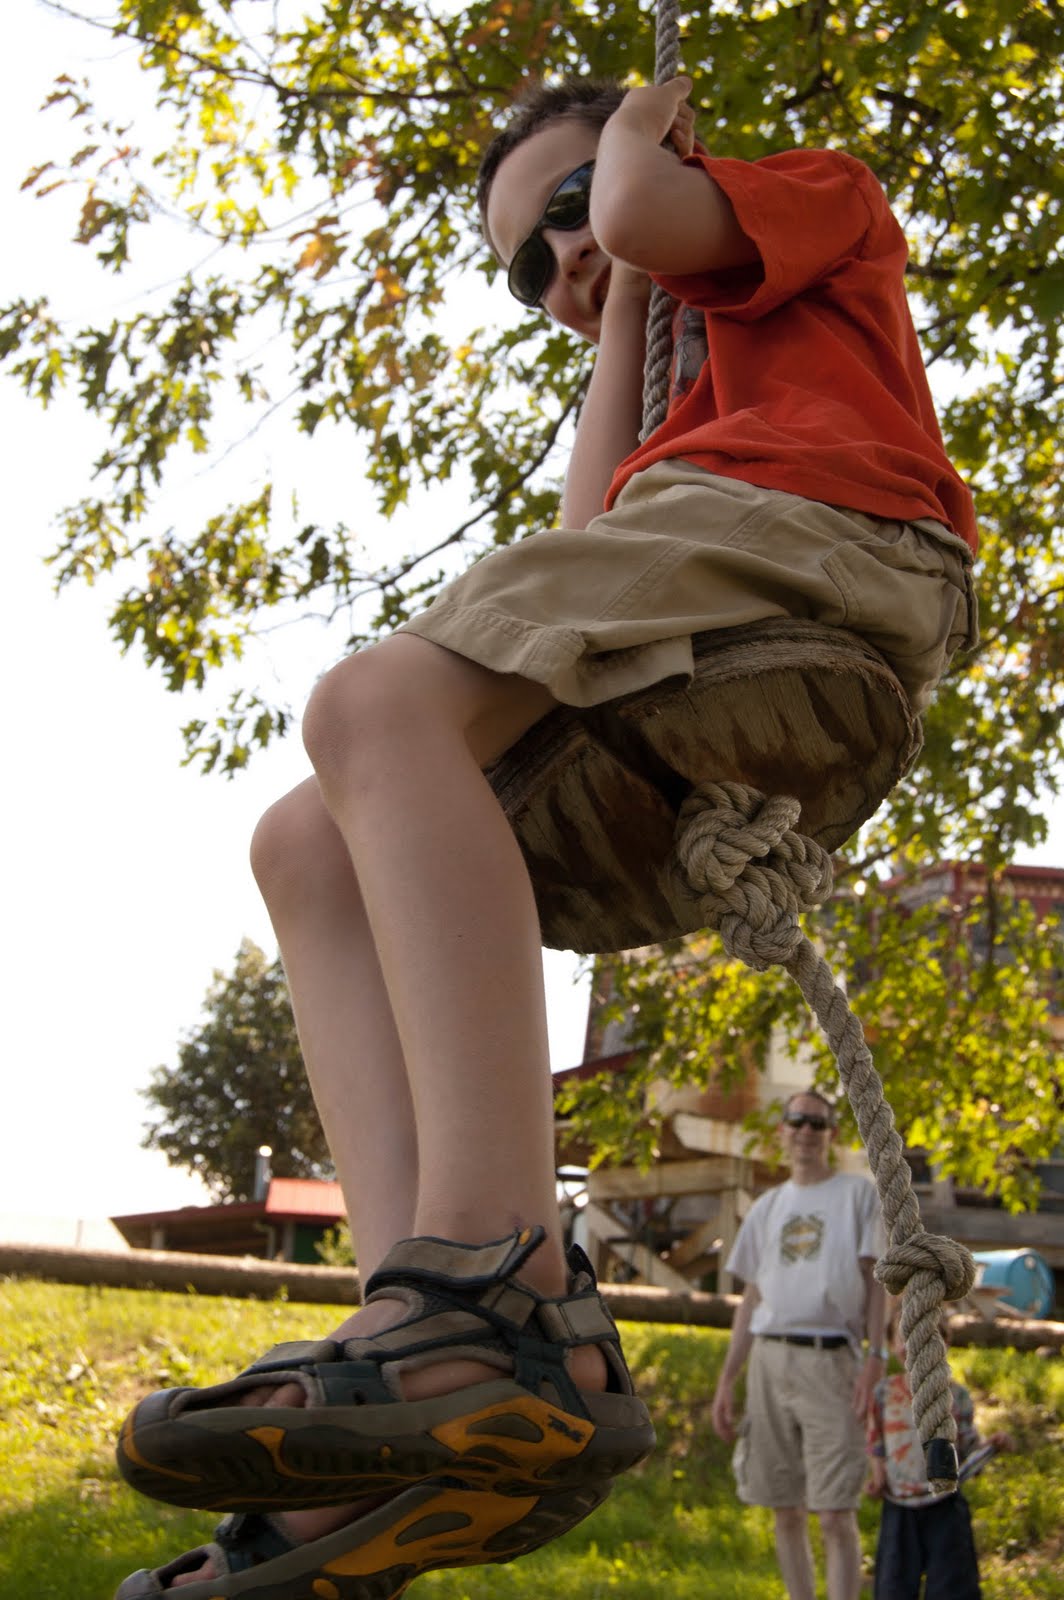
The jam will only remind me of the best of sour cherries, the taste of them in your mouth, my boys working together to pick enough for their crazy mother,  everyone in the family taking a turn swinging maniacally across the fields on a rope at the orchard, going to the beach together after picking to jump in the cold water and for the boys to dig extensive tunnel systems in the sand.  The jam will provide me with happy memories of the summer just as this blog serves to preserve the best parts of raising my children.  Like sitting here with them in my room, with the air conditioner turned on, listening to Sebastian read to Julian, while I write this post.  Without recording the screaming stand offs between parents and children, like the one we had at dinner the other night.


Arguments over leaving the table, not coming to the table in the first place and the general rudeness of children whose job it is to think only of themselves.  In my memory this jam will be just like those family dinners, the ones we are constantly told to have as they are the cornerstone of strong families, because clearly they never dissolve into the general mayhem and unpleasantness which cause Lewis and I to look  at each other, trying to remember what dinners were like pre-children.  Twenty years from now I will look back at our dinners as a magical part of raising my boys where they shared what they were thinking and doing and enjoyed ALL the food I lovingly prepared and served.


If you want to make cherry jam so you can wistfully dream about the feeling of the sun warming you this winter you will need to add some form of pectin as cherries are low in natural pectin.  Personally I do not like using commercial pectin (except for in my strawberry freezer jam with cointreau and drambuie).  Commercial pectin requires a large quantity of sugar to gel, producing a jam that is overly sweet for my taste and does not highlight the flavor of the fruit.  Some folks use Pomona's Pectin as it does not need any sugar to gel, however when I tried it there was a chalky texture to the jam that I found unpleasant.  For pectin in this jam I used unripe apples from the same orchard where I picked the jam.   If you do not have access to unripe apples you can use granny smith or crabapples instead.  If you have a local pick your own apple orchard it is worth asking to pick some fruit now to use as pectin.  I was given my pectin apples for free because I only took the apples that had been damaged by hail, and only a few from each tree.


No Commercial Pectin Sour Cherry Jam
(Be sure to check out my newest no pectin sour cherry raspberry lime jam)
This is not a complicated recipe, I just have a lot of information on canning in the directions.

1200 grams pitted sour cherries (approximately 6 cups pitted and halved sour cherries)
700 grams granulated sugar (approximately 4 cups, really 3.65 but 4 cups will work)
4 small unripe, still green apples roughly chopped, core and all (approximately 2 cups)  If you don't have access to unripe apples use granny smith or crabapples
Juice of 1 small lemon (pits reserved, they are high in pectin as well)

Put the sour cherries lemon juice and sugar in a large non reactive pan.  Place the chopped apple and lemon pits in a giant tea ball or a muslin bag and add to the pot.  This makes it possible to remove the apple mush and lemon pits later.  Bring the mixture to a rolling boil while stirring and cook for 5 minutes, the sugar should all be dissolved and the apple pieces should start to soften a little.  Turn off the heat and cover with a pan lid and place in the fridge overnight, I usually refrigerate mine for at least 24 hours, but that is only because I do almost all of my canning at night.

The next day, or night, place two small white plates in the freezer to test the jam with, put the pot back on the stove and bring to a boil, stirring occasionally, while prepping your jars, lids and canning pot.  You will need approximately 5 half pint jars, I always prep extras to be safe.*

Once the fruit is boiling stir constantly until the setting point is reached.  When you think your jam is set place a small amount on one of the plates in the freezer and place it back in the freezer for several minutes.  Test the dollop of jam by pushing it with your finger, if it wrinkles up it is gelled and you can can your jam.  The setting temperature for jam is around 220°, begin testing when the temperature is around 218° to 219°. The National Center for Home Food Preservation says the temperature test is the most dependable, however I have made syrup by relying only on temperature so I use both temperature and the clean plate test.

When your jam is sufficiently gelled remove the jars from the canning pot and fill the clean jars using a canning funnel.  Leave 1/4 inch headspace on the jars and clean the jar rims using a dampened paper towel before placing on the lid and tightening the screw on bands with your hands, before placing in the canning pot.  Bring the canning pot to a boil and boil hard for 5 minutes for sterilized jars and 10 for unsterilized jars (sterilizing jars can only happen in a boiling water canner,  not the oven or dishwasher).  Once the jars have boiled for the correct time turn off the heat and take off the  canner lid.  Allow to cool with the lid of for 5 minutes before using a jar lifter to remove the processed jars.  Place the jars on a towel, dish cloth or receiving blanket or a cooling rack, with at least 1 inch between jars.  Allow to cool completely, 12 to 24 hours.  Once cool take off the bands, test the seal by pushing up on the lid with your thumbs.  Any jars that have not sealed properly can be placed in the fridge.  Clean the top of the jars, label and store in a cool dry place.


*To prep your jars and lids, wash the jars and place in a caning pot on a canning rack with hot water to cover.  You now have 2 choices, you can bring the canning pot to a rolling boil and boil the jars for 10 minutes.  If you do this you only need to boil the filled jars for 5 minutes.  Alternatively you can bring the canning pot to 180°, with this option you will boil the filled jars for 10 minutes (this is what I do, it means less time heating the kitchen with a giant canning pot of boiling water).

Thursday, July 1, 2010

Bay Laurel Ice Cream


This week marks another first for Julian.  For  the first time he can finally attend science camp with his brother.  This is the third year that Sebastian has attended, so for 2 years Julian could only hear about all the amazing discoveries his brother was making.  Julian has been excited for weeks, okay months, as he and Sebastian talked about science camp.  He sailed happily into the classroom without a backward glance, just a huge expectant smile for what was to come.  Every day when I go to pick them up Julian's smile appears before he does.

When I imagined this week I had all sorts of plans of what I would do with my time.  Many of my ideas were centered in the kitchen and this blog.  Turns out I don't have all the free time I was dreaming of.  Instead I worked my final shift at one job and I have spent more time learning about my next position, one I will share more about later.  I also did not imagine myself needing to sand my deck and teak table as a result of my little scientists!  After camp on Monday I  was in my kitchen when Julian came in, climbed on the counter and tried to head out with a box of food coloring.  I calmly removed his loot and sent him on his way, patting myself on the back for avoiding whatever catastrophe was brewing.

I should have been tipped off when Julian just went away without a battle.  Julian has never been a child who gives up easily.  When he was a toddler you could distract him from the outlet that was his goal for an hour, thinking you had won.  As soon as you stopped entertaining him, he was back at the outlet again.  My error was forgetting that I had 2 boxes of food coloring.  So the boys had the first box and were conducting their own science experiments on the deck.  When I discovered them there were puddles of water and food coloring on the deck floor, the table and spatters all over the two of them.  I am sure they learned something, sigh.


While I may not have the endless time I was dreaming of I still made a bay laurel ice cream.  I started to dream of making bay laurel ice cream after reading Molly gush over fennel ice cream on Orangette.  If the cream and butterfat soften the flavor of fennel and makes it irresistibly herbal and soft, I began to wonder if it would also work to soften the flavor and bring out the sweet under note of fresh bay laurel leaves.  The end result wasn't as subtle as Molly's description, however it is creamy and rich with a sweet herbal floral flavor that nobody will guess the origins of.  However that might be more because to most folks the flavor of bay laurel leaves is muddled into beef stew and not because it is disguised.  This ice cream tastes nothing like stew, instead it has a sweet flavor that lingers in the mouth as the ice cream melts on your tongue.

Let me be clear that this should not be made with the dried bay laurel leaves you have gathering dust in your cupboard.  I am lucky enough to have a bay laurel tree, if you aren't you can substitute another favorite herb, or buy a bay laurel plant.  If you live locally, Red Wagon Plants is carrying them this year and should have them at the local stores that carry their plants.  Check out my post on the Red Wagon Plants blog that explains how I care for a bay laurel tree in Vermont.  Maybe working on that post explains why I had bay laurel on the brain and made this ice cream.  Whatever the cause this is a dish i will be making again.  (Sometimes you can also find fresh bay laurel leaves in the produce section of your grocery store).


Bay Laurel Ice Cream
Inspired by Gourmet's Fennel Ice Cream

1 2/3 cups heavy cream
1 fresh bay laurel leaf (as you can see my leaf was a little over 2 inches long, smaller would be fine)
1 cup whole milk (I only had 1%, I used 3 Tbsp half and half and the rest 1%)
3/4 cups sugar, divided use
1/4 tsp kosher salt
4 large egg yolks

Combine the heavy cream and bay laurel leaf and a small heavy saucepan.  Bring the cream to a simmer, remove the mixture from the heat and let steep covered for 30 minutes.  
After steeping the bay laurel leaf in the cream for 30 minutes prepare an ice bath.  Place the milk, 1/2 cup of the sugar and the salt in a medium sauce pan.  Bring to a simmer while stirring to dissolve the sugar. 

Prepare an ice bath and whisk the egg yolks with 1/4 cup sugar in a medium metal bowl and set aside.  Combine the milk, ½ cup sugar, and a pinch of salt in a medium heavy saucepan, and bring just to a simmer, stirring to dissolve the sugar.  Add the hot milk to the egg yolks in a slow stream while whisking.  Warming the eggs gently this way prevents them from scrambling.  Add the egg yolk/milk mixture back to the pan.


Cook the mixture over medium low heat while stirring constantly with a heat proof spatula (I use silicone).  Make sure to scrape the bottom and sides of the pan as you cook it.  When the mixture coats the back of the spatula and thickens pour it through a fine mesh strainer into a metal bowl set in the ice bath. Stir until cool, when it is cool strain the bay laurel flavored cream into the egg yolk mixture.  Continue to cool over the ice bath until very cold or just cool it in the fridge for several hours.  The mixture must be totally cold before proceeding.

Freeze in your ice cream maker and then place in the freezer to harden before serving.